Recurring invoices let you automate billing for customers you invoice on a regular basis. Once you set up a schedule, Forwardly generates and sends invoices automatically so you don't have to recreate them each time.
This is useful for subscriptions, retainers, memberships, or any ongoing service where the billing amount and frequency stay consistent.
| Reminder: Schedules created in Forwardly are managed separately from any recurring invoice setups in your accounting software. The schedules themselves do not sync between systems, but invoices generated from those schedules will sync as usual and appear alongside all other invoices in your connected accounting platform. |
How to create a recurring invoice schedule
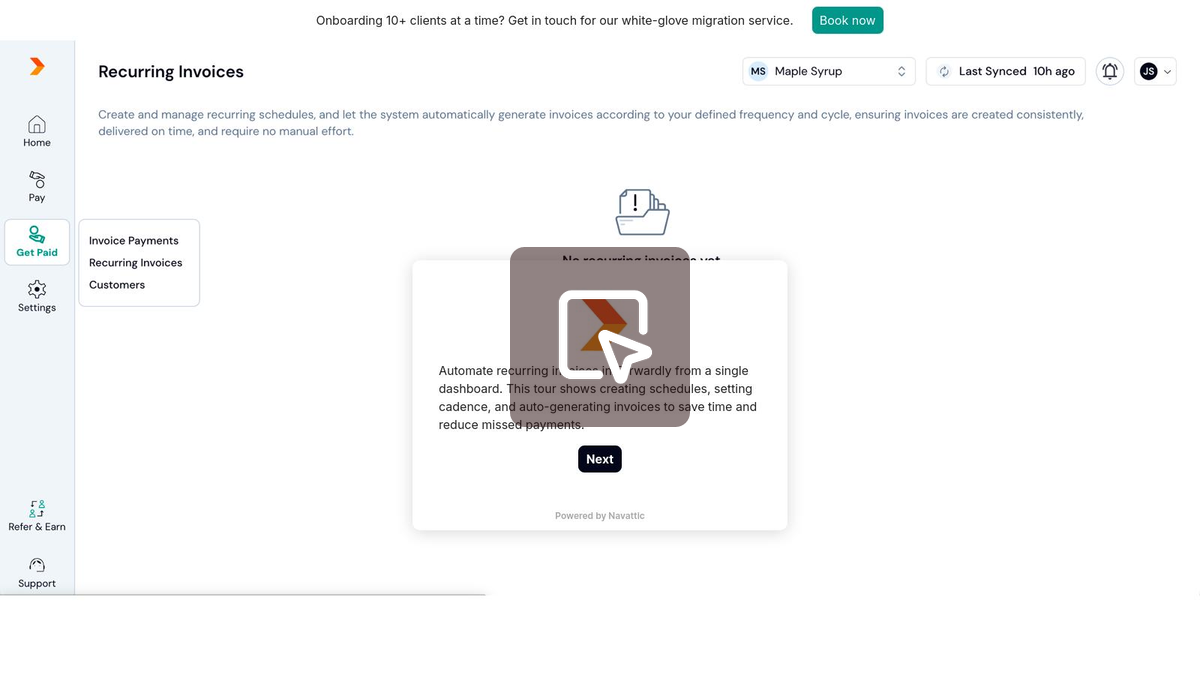
- From the left-hand navigation menu, click Get Paid, then Recurring Invoices.
- Select Create a Schedule.
- Add your customer details and invoice items.
- Set the billing interval by selecting a start date and repetition frequency (weekly, monthly, yearly, or custom), then click Confirm Interval.
- Click Create a Schedule to save and activate it.
Once created, you can view the full audit trail for the schedule from the Recurring Invoices section.
| Tip: You can also make an invoice recurring while creating a new invoice from the Invoices tab. Select Make it Recurring before saving. Note that you can switch between a single invoice and a recurring invoice before saving, but an existing schedule cannot be converted back into a one-time invoice. |
Where can I manage recurring invoices or schedules?
All active and inactive schedules (including deleted or completed ones) are available in the Recurring Invoices tab of your Invoices dashboard.
Only active schedules can be modified or deleted.